Making bread is a really fun and fulfilling activity. It is an opportunity to create something delicious and nutritious that you can share with your family and friends. If you are an 18 year old student who is looking to learn the basics of bread-making, then this article is for you! We will be going over some of the best tips for bread-making to get you started on your journey. From the importance of proper measurements to the importance of kneading, these tips are essential for making delicious and delectable bread. So read on and let’s get baking!
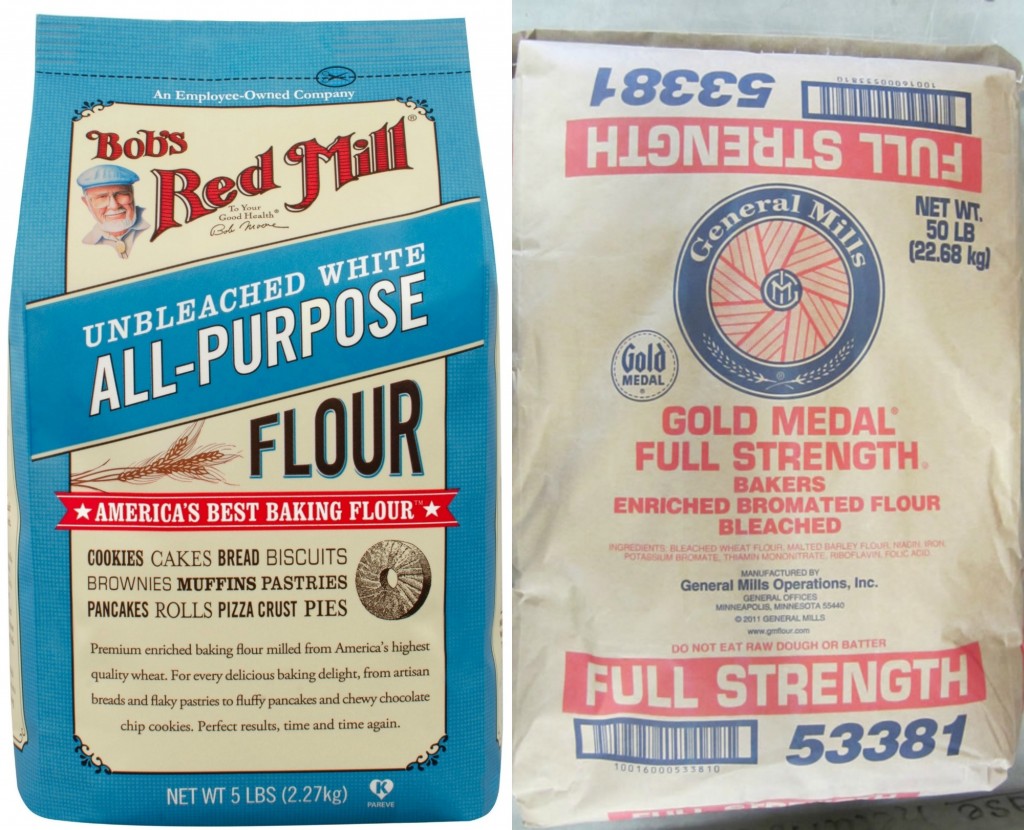
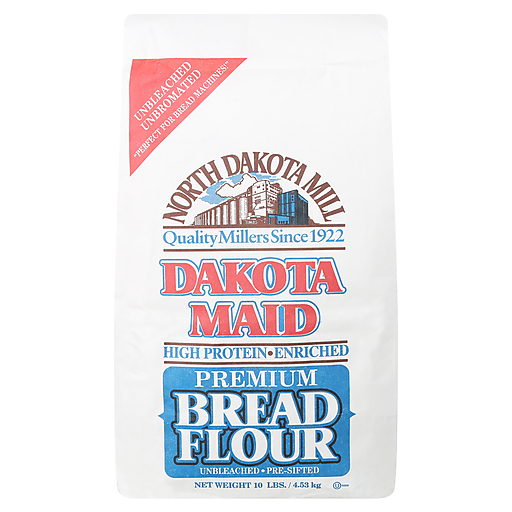
Use Quality Ingredients: Using high-quality ingredients such as unbleached, unbromated flour, fresh yeast, and other quality baking ingredients will give you the best results in breadmaking.
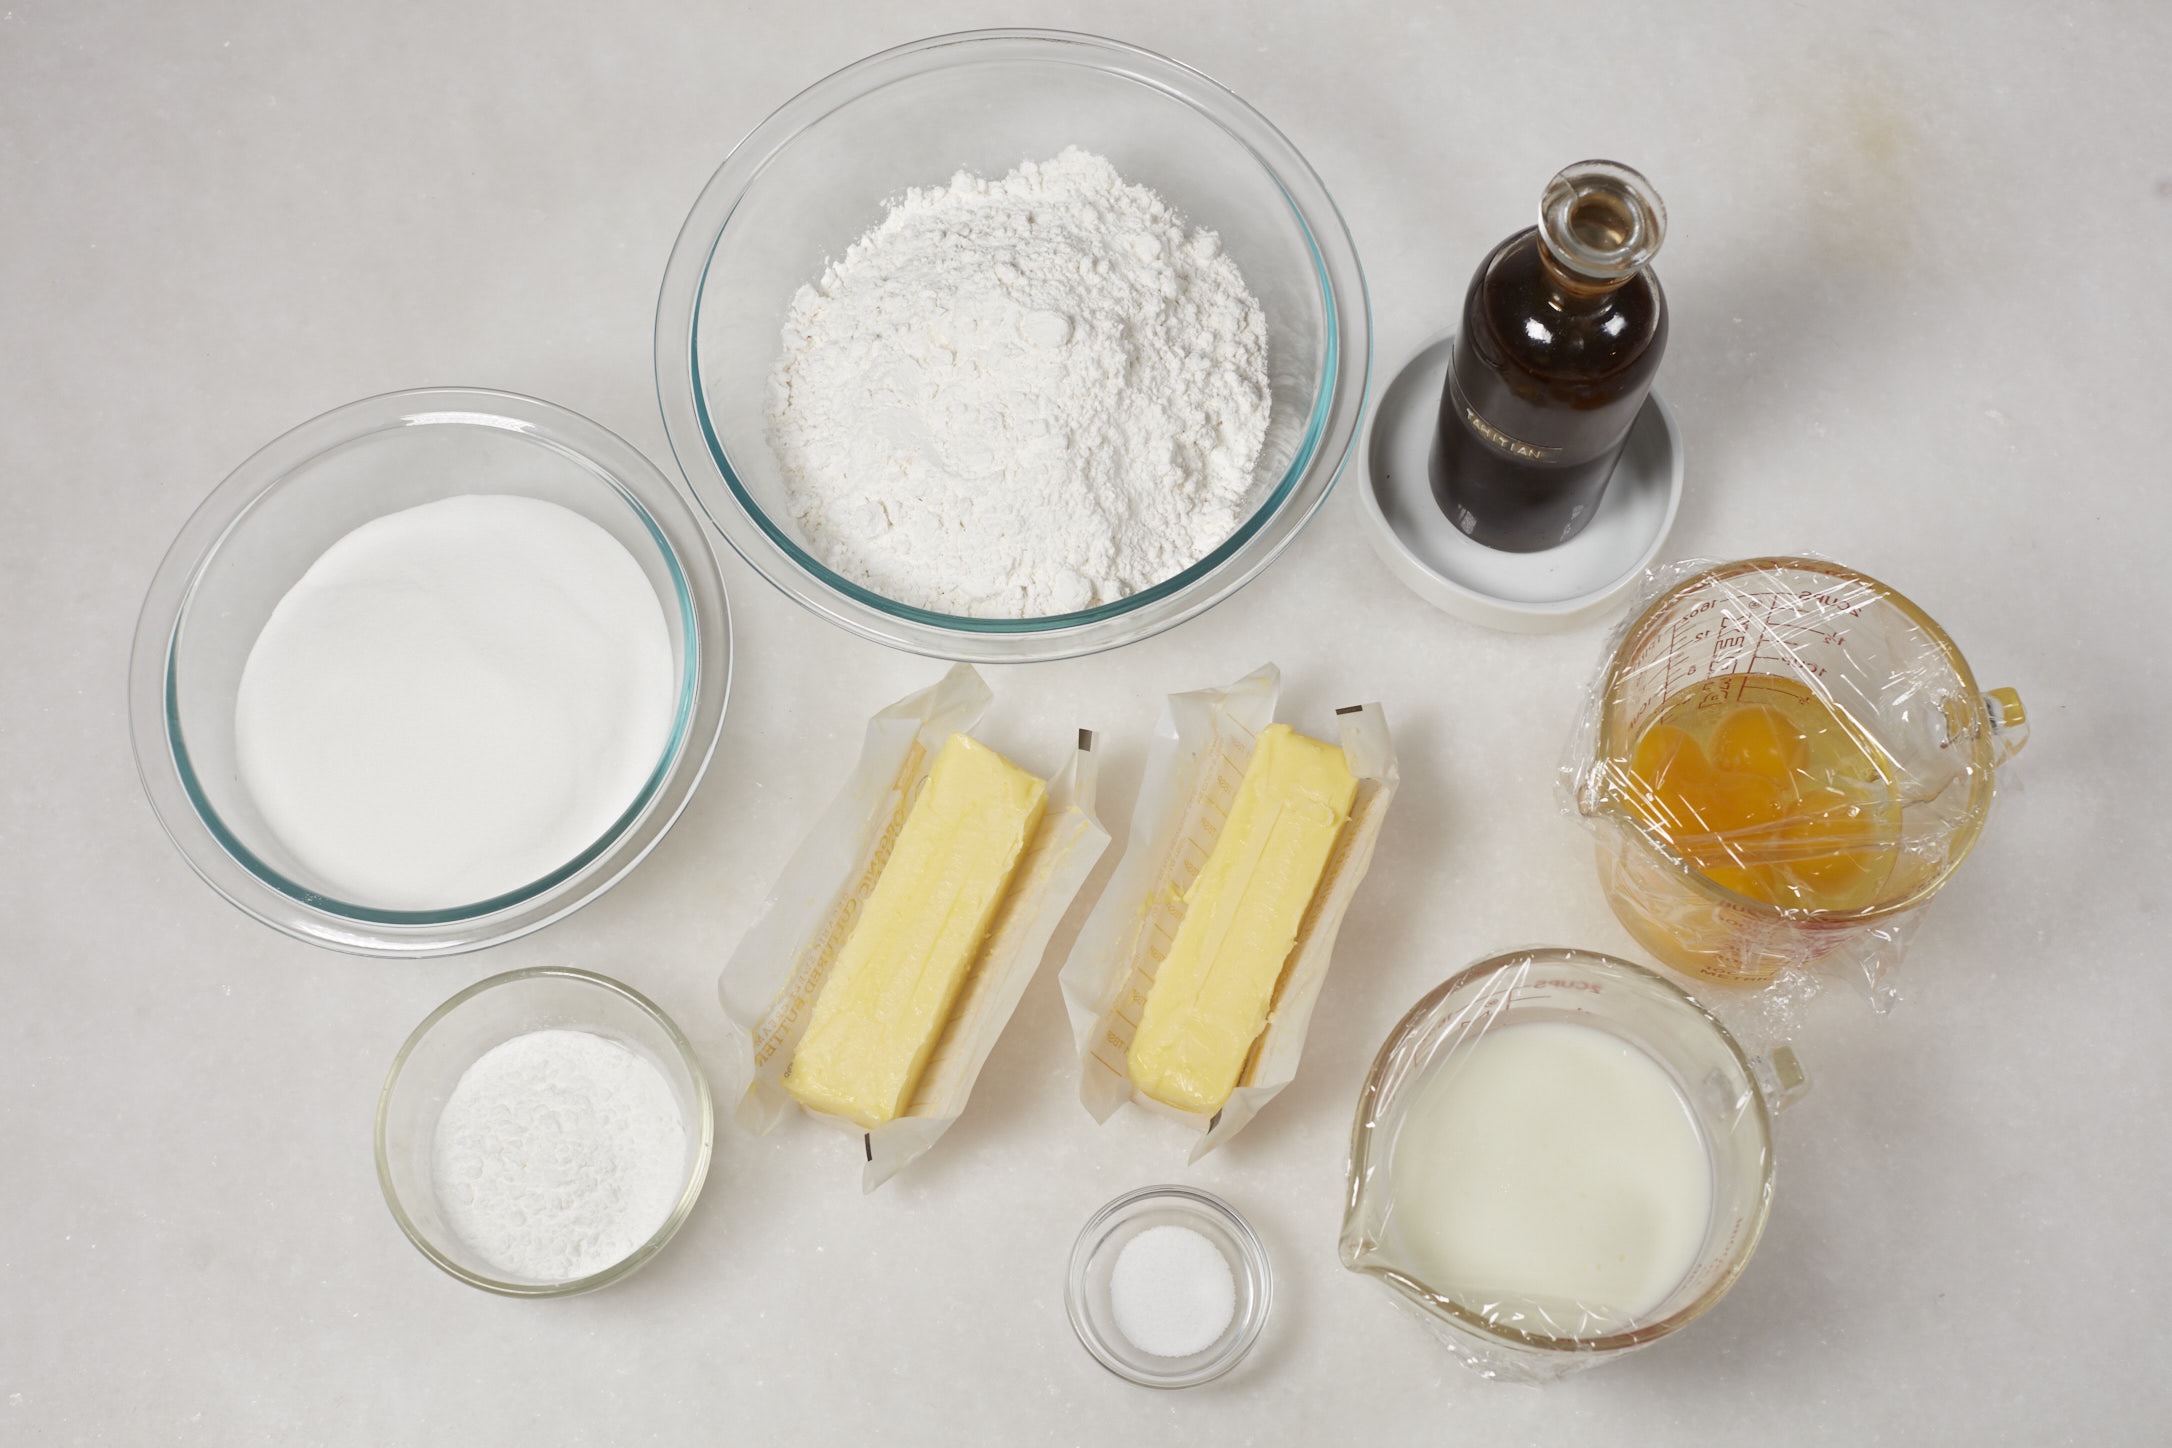
When it comes to breadmaking, quality ingredients are key. Using unbleached, unbromated flour, fresh yeast, and other top-notch baking ingredients will give you the best results. Not only will this help your bread taste better, but it will also ensure it rises properly and has a good texture. There’s nothing worse than a dense loaf of bread, so make sure you invest in quality ingredients and take the time to measure them properly. The effort is totally worth it!
Knead Thoroughly: Kneading the dough is essential to developing the gluten in the flour and creating the structure of the bread
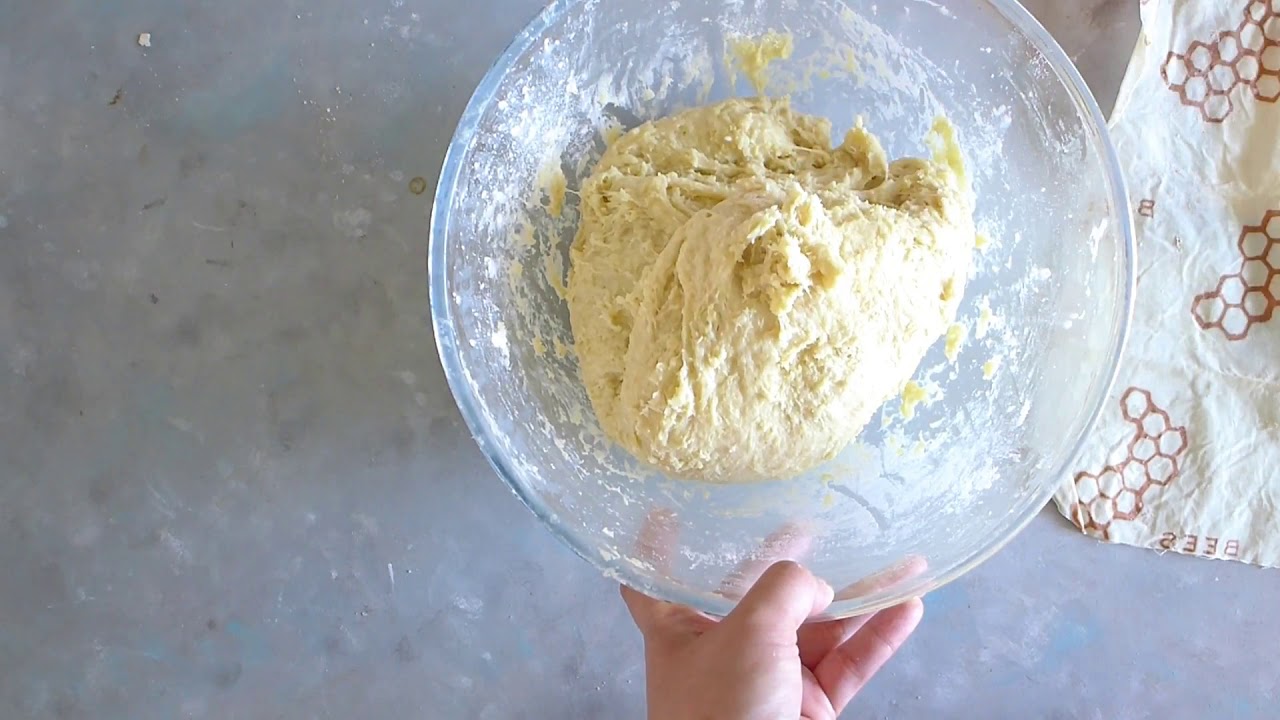
Kneading is one of the most important steps in bread making. You need to knead your dough for around 10 minutes, using the heel of your hand to push and turn the dough. This action helps to form the gluten in the flour, creating the structure of your bread. To make sure you’re kneading effectively, don’t be afraid to get your hands dirty! Place the dough on a clean, lightly floured surface and push and turn it firmly. This will create a smooth, elastic dough that will make your bread rise perfectly and taste delicious.
Knead the dough until it is smooth and elastic and springs back when you press it.

Kneading is an essential step in breadmaking, and one of the most important tips to remember is to knead the dough until it is smooth and elastic and springs back when you press it. This is the best way to develop the gluten in the dough, which then helps the bread to rise and gives it a fluffy texture. Additionally, kneading for a longer period of time also helps to form a strong structure, which will help to create a strong crust and hold the bread together better. It’s important to knead the dough until it passes the windowpane test, where you can stretch a piece of dough thin enough that it becomes almost transparent without breaking. This is a good indication that the dough is ready and that it has been kneaded enough.
Allow the Dough to Rise: Allowing the dough to rise is essential for creating a light, fluffy texture
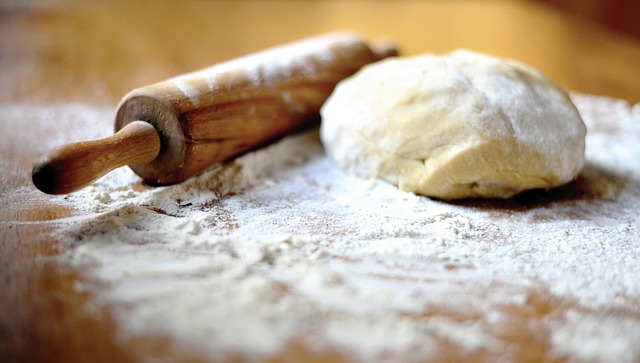
Allowing your dough to rise is an essential step in breadmaking. It helps give the bread an airy and fluffy texture. To do this, you can either let the dough rise naturally at room temperature or use a bread machine. If you’re using the natural method, make sure you set the dough in a warm place and cover it with a tea towel. This will help the yeast activate and give your bread a light texture. If you’re using a bread machine, you should follow the manufacturer’s instructions for how long to let the dough rise. It’s important to remember that the longer you let the dough rise, the better the texture of the bread.
Make sure to let it rise in a warm and humid place away from drafts.
If you want your homemade bread to be light and fluffy, it’s important to let it rise in a warm and humid place away from any drafts. A warm and humid environment gives the yeast the perfect conditions to grow and make your bread rise faster. To achieve this, you can use a warm oven or a heating pad. Make sure to cover the dough in a damp towel. You can also use a humidifier in the room to help the rising process. With these tips, you’ll be able to make delicious, light and fluffy bread!
Use a Lame or Razor Blade: Using a
Using a Lame or Razor Blade when making bread is one of the best tips out there! It allows you to make a sharp, clean cut in the dough without squashing the dough and ruining the shape. A sharp blade will also help make the dough rise more evenly, so you get an even-textured bread. Plus, using a blade gives you more control over the thickness of the cut and helps you create more interesting designs on your bread. And for those of you who are particularly creative, you can even try cutting out shapes and patterns in the dough with a blade; it’s a fun way to customize your bread!


