If you’re looking to upgrade your home with a beautiful, low-maintenance floor, you may be considering laminate flooring. Installing laminate flooring can seem intimidating, but with a few simple steps, you can have a beautiful floor in no time! In this article, I’ll show you exactly how to install laminate flooring in 5 simple steps so you can give your home a fresh new look without the hassle.
Measure and Prepare Room
Measuring and preparing the room for laminate flooring is the most important step in the installation process. To start, you’ll need to measure the room and order enough laminate planks to cover the space. Make sure to leave some extra in case of mistakes! Additionally, you’ll have to clear the room of furniture and any other obstacles that may be in the way. This will help you get a better idea of the room’s shape and dimensions.
Cut Laminate Planks
![]()
Cutting laminate planks can be surprisingly easy. All you need is a basic saw, some measuring tape and a few other simple tools. With a bit of patience and a steady hand, you can cut laminate planks to the exact size and shape you need for your flooring project. Don’t forget to use safety glasses and gloves to protect yourself while cutting – this is a must!
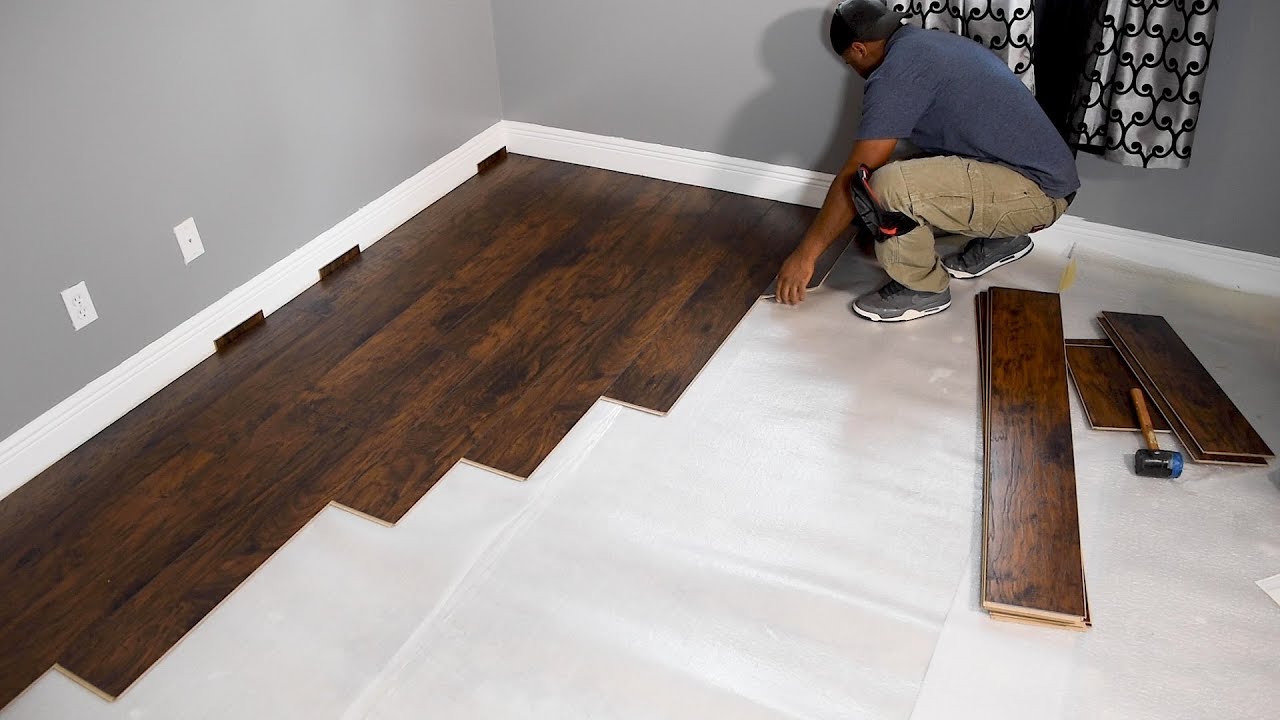
Dry-Lay Planks

Installing laminate flooring can be a fun and easy DIY project. Dry-lay planks are a great way to do it, as you can lay them out in the room beforehand, so you get a better idea of how it will look and make sure you have the right amount of flooring. It’s also easier than laying it down with glue or staples, and can be done in a few simple steps.
Apply Adhesive

Installing laminate flooring is easy with the right tools and supplies. Applying adhesive to the subfloor is the next step, and it’s important to make sure it’s spread evenly and carefully. I’m no expert, but following instructions is key. I would recommend getting some professional help if you’re not sure what you’re doing. That way, you can rest assured your laminate flooring will be installed correctly and look great in your home.
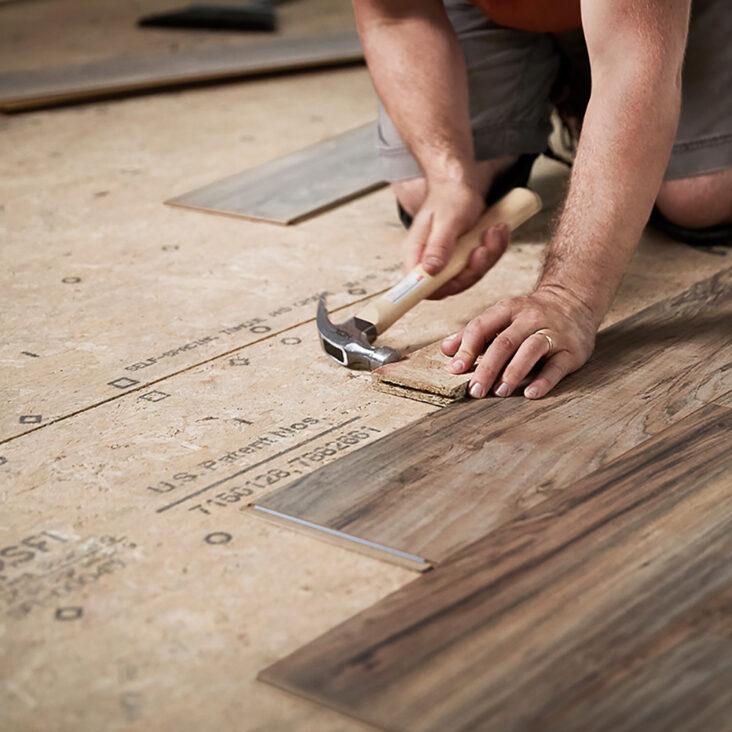
Tap Planks Together

Tapping the planks together is the next step. It’s a simple process. You just need to make sure you have a tapping block and hammer. Start by laying the plank and putting the tapping block on the end of the plank and tap it into the tongue and groove of the plank next to it. Keep tapping until the two planks are tight together. Make sure you don’t hit the planks too hard, you don’t want to damage them. It’s a good idea to practice a few times before laying the entire floor.
Install Baseboards

Once your laminate flooring is installed, the next step is to install baseboards. These are the boards that will run along the edges of the floor and provide a neat and tidy finish. Baseboards can be a challenging part of the DIY process, but with the right tools and a bit of patience, it can be done in no time. Make sure to measure and cut the baseboards to fit perfectly and use a level to make sure it is straight.