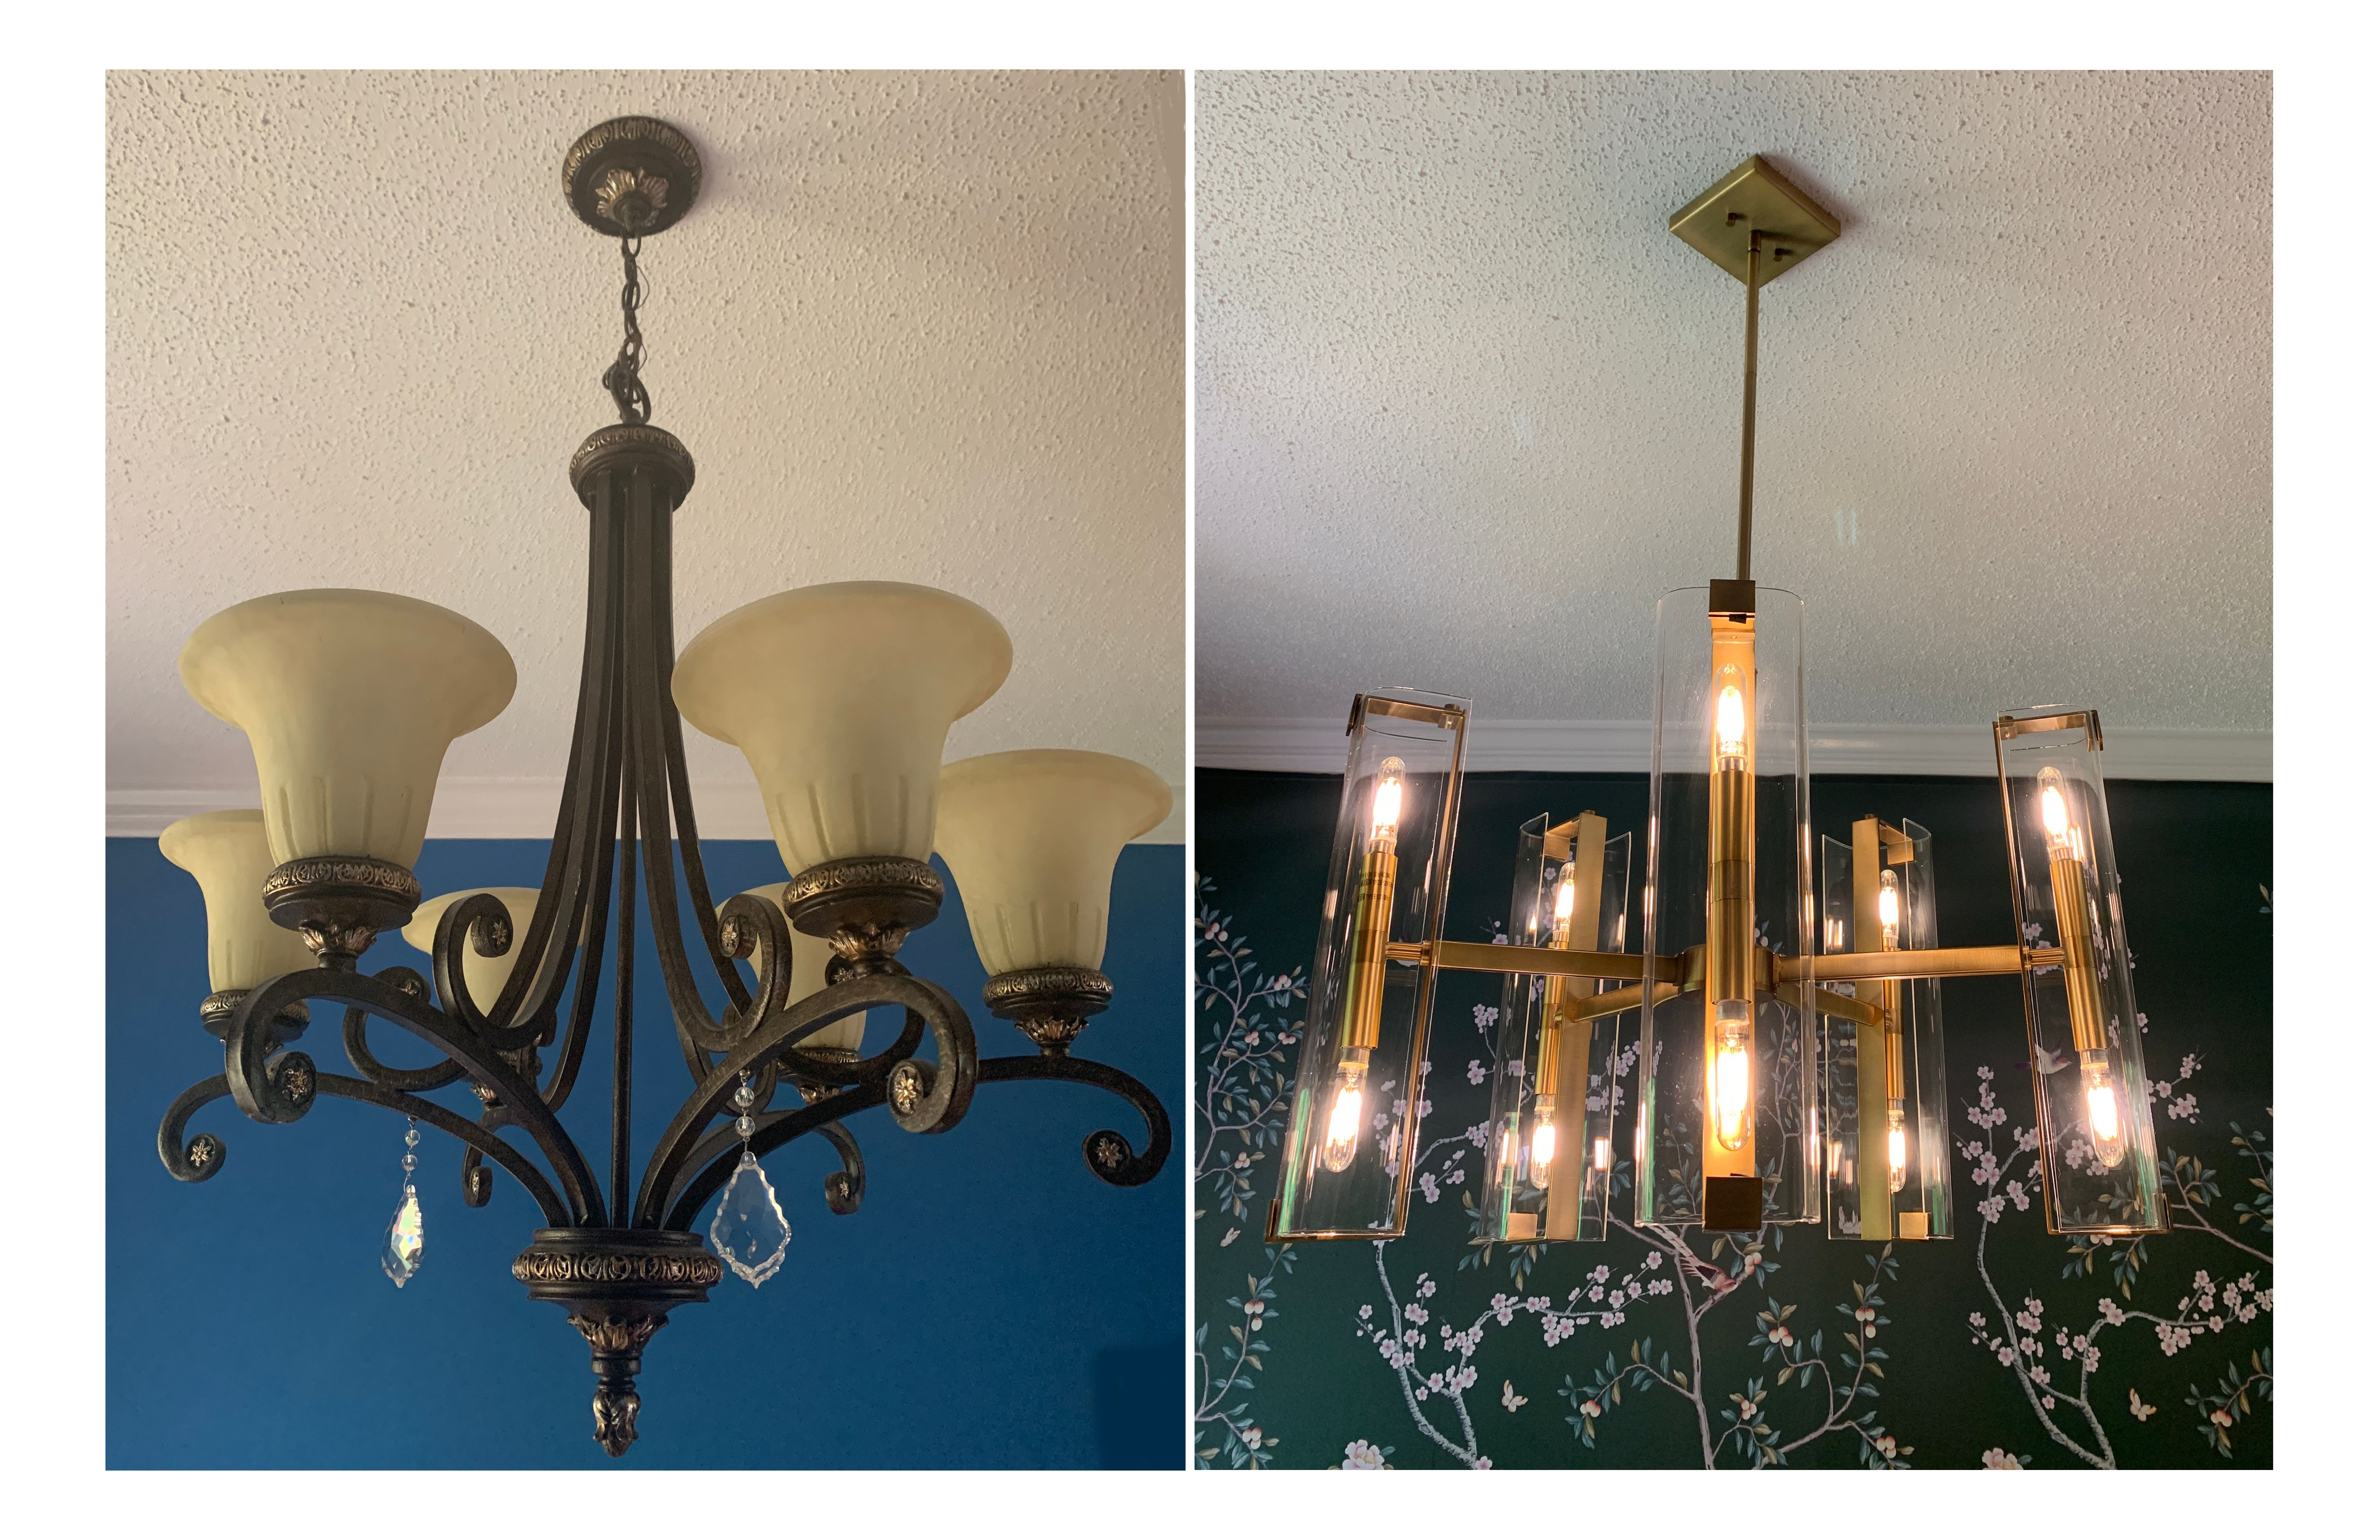
If you want to make a simple home improvement on your own that doesn’t require a lot of time or money, then replacing a light fixture is the perfect place to start! It’s an easy project that anyone with basic DIY skills can accomplish, and best of all, it’s a great way to give any room a fresh look. In this article, I’m going to show you exactly how to replace a light fixture so you can get your project finished in no time!
Turn off electricity.

Before you can replace a light fixture, you need to make sure the power is off. It’s always a good idea to double check the power switch and the circuit breaker before starting. Turning the power off is a key step that should never be skipped when it comes to any DIY home improvement project. Make sure to act with caution and double check the power is off before you start to avoid any accidents.
Remove old fixture.

Removing the old light fixture can be a bit tricky depending on its type. First, make sure the power is off before you start taking things apart. Then, unscrew the mounting screws and take down the fixture. Disconnect the wiring and take out the fixture. Lastly, be sure to dispose of it properly, as some light fixtures may contain hazardous materials.
Install new fixture.
Installing a new light fixture is not hard at all! All you need is a few basic tools and you can get it done in a snap. Just make sure to turn off the power to the circuit and use the right type of light fixture. Follow these simple steps to get the job done–loosen the screws, disconnect the wires, mount the new fixture, and connect the wires. You’ll be done in no time!
Connect wiring.

If you’re looking to replace a light fixture, connecting the wiring is an important step. Make sure you switch off the power, then connect the ground wire to the grounding screw. To attach the black (hot) wire to the new fixture, use a wire connector. Finally, attach the white (neutral) wire to the silver terminal. It’s important to do it the right way to ensure safety and avoid causing a short circuit.
Replace cover plate.

Replacing the cover plate of a light fixture is quite straightforward. All you need is a screwdriver, a few minutes of your time and a new cover plate. Start by turning off the power and then unscrewing the screws that are holding the old cover plate in place. Then, take the new plate and screw it in place. Finally, turn on the power and your new cover plate is ready to use!
Restore power.

Once the new light fixture is in place, it’s time to restore power. Make sure to turn off the circuit breaker before you do anything. After that, simply screw in the new light fixture and turn the circuit breaker back on. Always remember to be safe and take all the necessary precautions when dealing with electricity.


