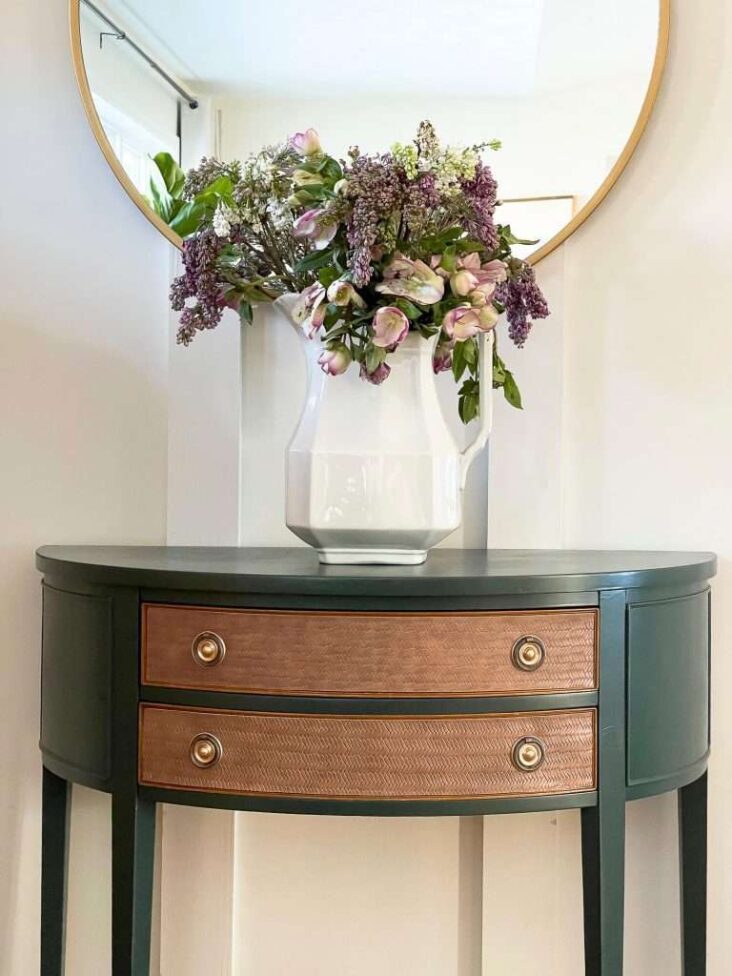
Painting furniture can feel like an intimidating task, especially if you’re new to DIY projects. But painting furniture doesn’t have to be hard and with the right steps, you can get a professional-looking finish on any piece of furniture. In this article, I’ll share with you my top tips for painting furniture, from selecting the perfect paint to getting a smooth, even finish. So if you’re ready to give your furniture a makeover and get the perfect finish, keep reading!
Gather supplies: brushes, paint, sandpaper
As a DIY enthusiast, it’s important to have the right supplies for a professional finish. For painting furniture, you’ll need brushes, paint, and sandpaper. Brushes are essential for a smooth coat, so make sure to use ones that are high-quality and specifically designed for painting. Choose a type of paint that suits your project and your desired look, and sandpaper for prepping the surface for the perfect finish. With the right supplies, you’ll be ready to take on any DIY painting project!
Sand furniture’s surface: smooth, even

Sanding your furniture is the most important step in achieving a professional finish. You’ll want to use a fine-grit sandpaper to make sure the surface is smooth and even. It may seem tedious, but taking the time to sand your furniture correctly will ensure the paint job looks even and professional. Plus, it’ll make the painting process go much smoother!
Clean and prime furniture: no dust, oil

If you’re ready to start painting your furniture, the first step is to make sure it’s clean and primed. To get a professional finish, you need to make sure there’s no dust, oil, or other residues on your furniture. This is important, as it’ll make the paint adhere better and give you a better end result. To do this, I would recommend wiping the furniture down with a damp microfiber cloth and then let it dry before you start priming.
Basecoat: even, light strokes

Painting furniture can seem daunting, but with a few simple tips and tricks, you can achieve a professional finish. When it comes to basecoat, it’s all about using even, light strokes. Make sure to use a brush that fits the size of the surface and paint in straight, vertical strokes. I find it helpful to take my time and be gentle when applying the basecoat, as it’s the foundation for the rest of your project.
Apply topcoat: gentle, thin coats

When applying topcoat, it’s important to take your time and use gentle, thin coats. This will help you get the best, most professional looking finish. Start with a light coat, wait for it to dry, then add a second coat if necessary. Make sure to use a high-quality topcoat for the best results. And don’t forget to sand between coats to get an even look.
Seal and protect: let dry, add wax

Once you’ve finished painting, it’s important to seal and protect your furniture for a professional finish. Let the paint dry for 24 hours, then apply a thin layer of wax, buffing with a clean cloth to help the wax adhere and to create a shine. Not only will this help your furniture look great, but it will also make it last longer.


