If you’re like me and you’re tired of hearing the constant dripping of a leaky faucet, then you’re in luck! This article will show you how to fix a leaky faucet in just 5 simple steps. It’s a simple DIY plumbing task that anyone can do – even if you have no prior plumbing experience! So get your tools ready and follow this guide to have your faucet back in working order in no time.
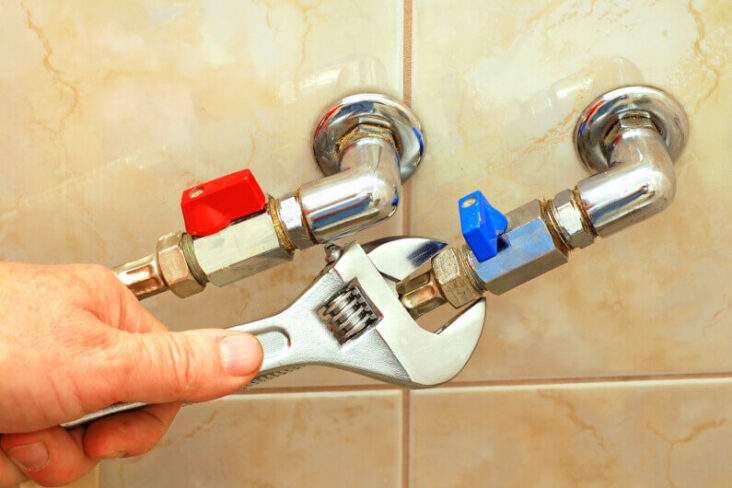
Turn off water supply

If you’re dealing with a leaky faucet, the first step to take is to turn off the water supply. To do this, you’ll need to find the main shutoff valve in your home and turn the lever or knob clockwise until it’s completely closed. Be careful not to over-tighten it; just make sure it’s completely shut off. Once you’ve done this, you’re ready to move on to the next step.
Remove faucet handle

Removing the faucet handle is the first step in fixing a leaky faucet. To do this, you’ll need to find the small screw that holds the handle in place. You can usually find it near the top of the handle. Use a screwdriver to unscrew it and then carefully remove the handle. This can be tricky, so make sure to take your time and don’t force anything. Once the handle is off, you can move on to the next step.
Replace washer/seal
Replacing the washer/seal is the third step to fix a leaky faucet. This step is quite easy and can be done with a few simple tools like a flathead screwdriver, adjustable wrench, and a pair of pliers. Make sure to buy a new washer/seal compatible with your faucet before starting the job. Then, simply remove the old washer/seal and replace it with the new one. Be extra careful and make sure the new washer/seal is tightly fitted for a perfect seal!
Re-attach handle
Re-attaching the handle is the last step to fix that pesky leaky faucet. It may seem tricky, but it doesn’t have to be! To start, you’ll need to make sure the handle is securely attached to the stem and the nut is secure. Then, use the wrench to tighten the handle onto the stem. Finally, turn the handle on and test out your handy work, you should be all set!
Turn on water supply
If you’re a DIY enthusiast, fixing a leaky faucet is an easy task! Start by turning on the water supply. Make sure it’s fully open and the water pressure is strong – this will ensure that the fix is successful. Once the water is running, you can get started on the repair. Follow the steps outlined in this blog and you’ll be able to fix that leaky faucet in no time.
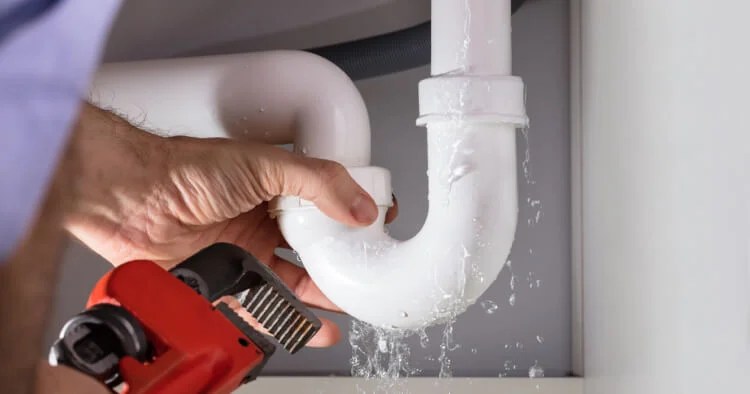
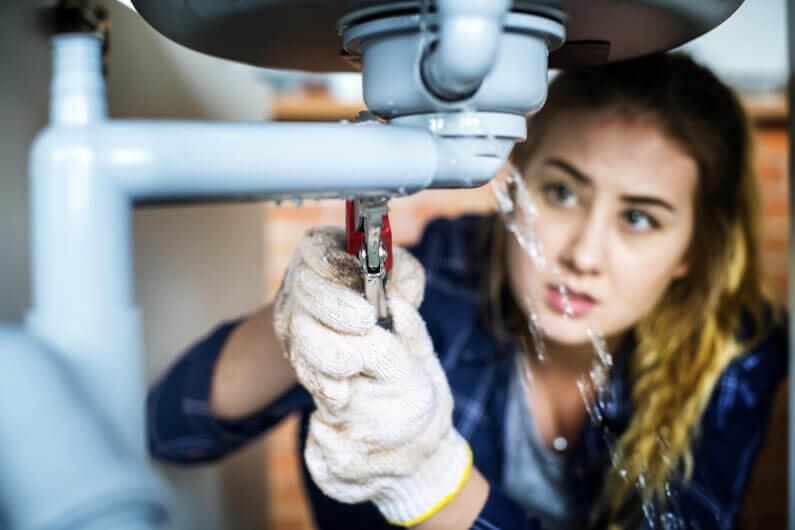
Check for leaks

If you’re trying to fix a leaky faucet, the first thing you need to do is check for leaks. To do this, turn on the faucet and look for any signs of water coming from the handle or spout. If you see any water, you’ll know there’s a leak and it’s time to get to work! Take a few minutes to check for leaks before you get started so you can be sure your repair job will be successful.