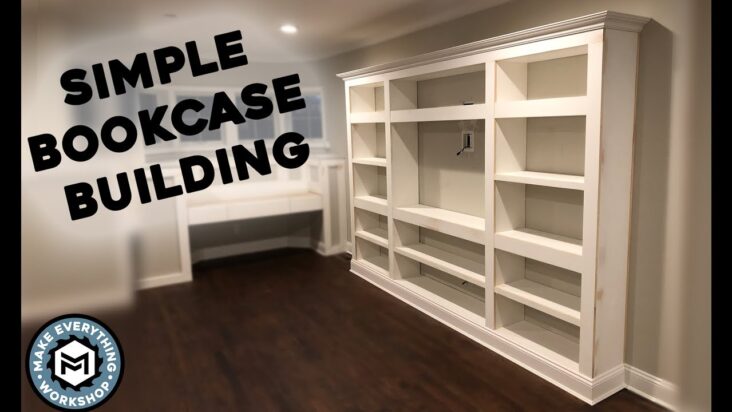
If you’re a beginner looking to learn woodworking, this guide on how to build a bookshelf is for you! Whether you’re an 18 year old student looking to try something new or someone who’s just starting out in the world of woodworking, this guide will walk you through the basics of building a sturdy and stylish bookshelf. Read on for tips on the materials and tools needed, step-by-step instructions, and more.
Gather materials and tools.

Gathering the materials and tools required to build a bookshelf is the first step to a successful woodworking project. To start, you’ll need a saw, drill, sander, screws, nails, wood, and a variety of clamps. If you don’t have these items, you can buy them at a local hardware store or online. Don’t forget to get the right wood for your project; different types of wood have different characteristics. Finally, make sure you have the time and space to complete your project. Good luck!
Measure and mark wood.
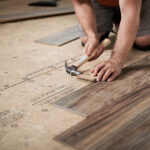
Measuring and marking the wood is a crucial part of building a bookshelf. To do this, you’ll need a ruler and a pencil. Start by measuring the length and width of the wood you plan to use. Then, use the ruler to mark where you plan to cut and drill. Be sure to double-check your measurements before you start cutting and drilling! With these steps you’ll be ready to start your woodworking project.
Cut wood to size.
Cutting wood to size is a crucial step in building a bookshelf. As a beginner, it’s important to measure accurately and use the right tools. Make sure you have a saw, a measuring tape, and a pencil before you start. Also, always wear protective goggles when cutting wood. It’s important to take your time and get the measurements right so your bookshelf looks great!
Assemble frame.

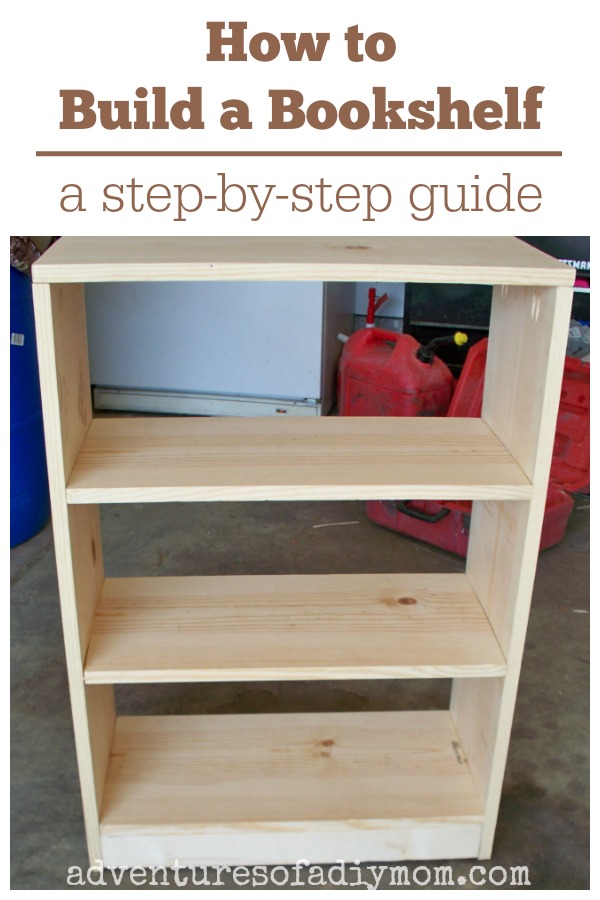
Assembling the frame for your bookshelf can be intimidating for beginners, but with the right tools and knowledge, it’s easy and immensely rewarding! All you need is a screwdriver, hammer and wood glue, and you’re ready to start building. It’s important to be precise and measure twice, so your frame is perfectly square when you’re done. With a little patience, you can create a beautiful bookshelf that you’ll be proud of!
Attach shelves.

Attaching shelves to a bookshelf is relatively easy, although it can be a bit tricky for beginners. I found that using a drill to make pilot holes for the screws was the easiest way to make sure all the shelves were level. You’ll also need to measure the distance of each shelf from the top and bottom, and make sure the screws are going into the studs in the wall. It’s also important to use the right size screws for the job!
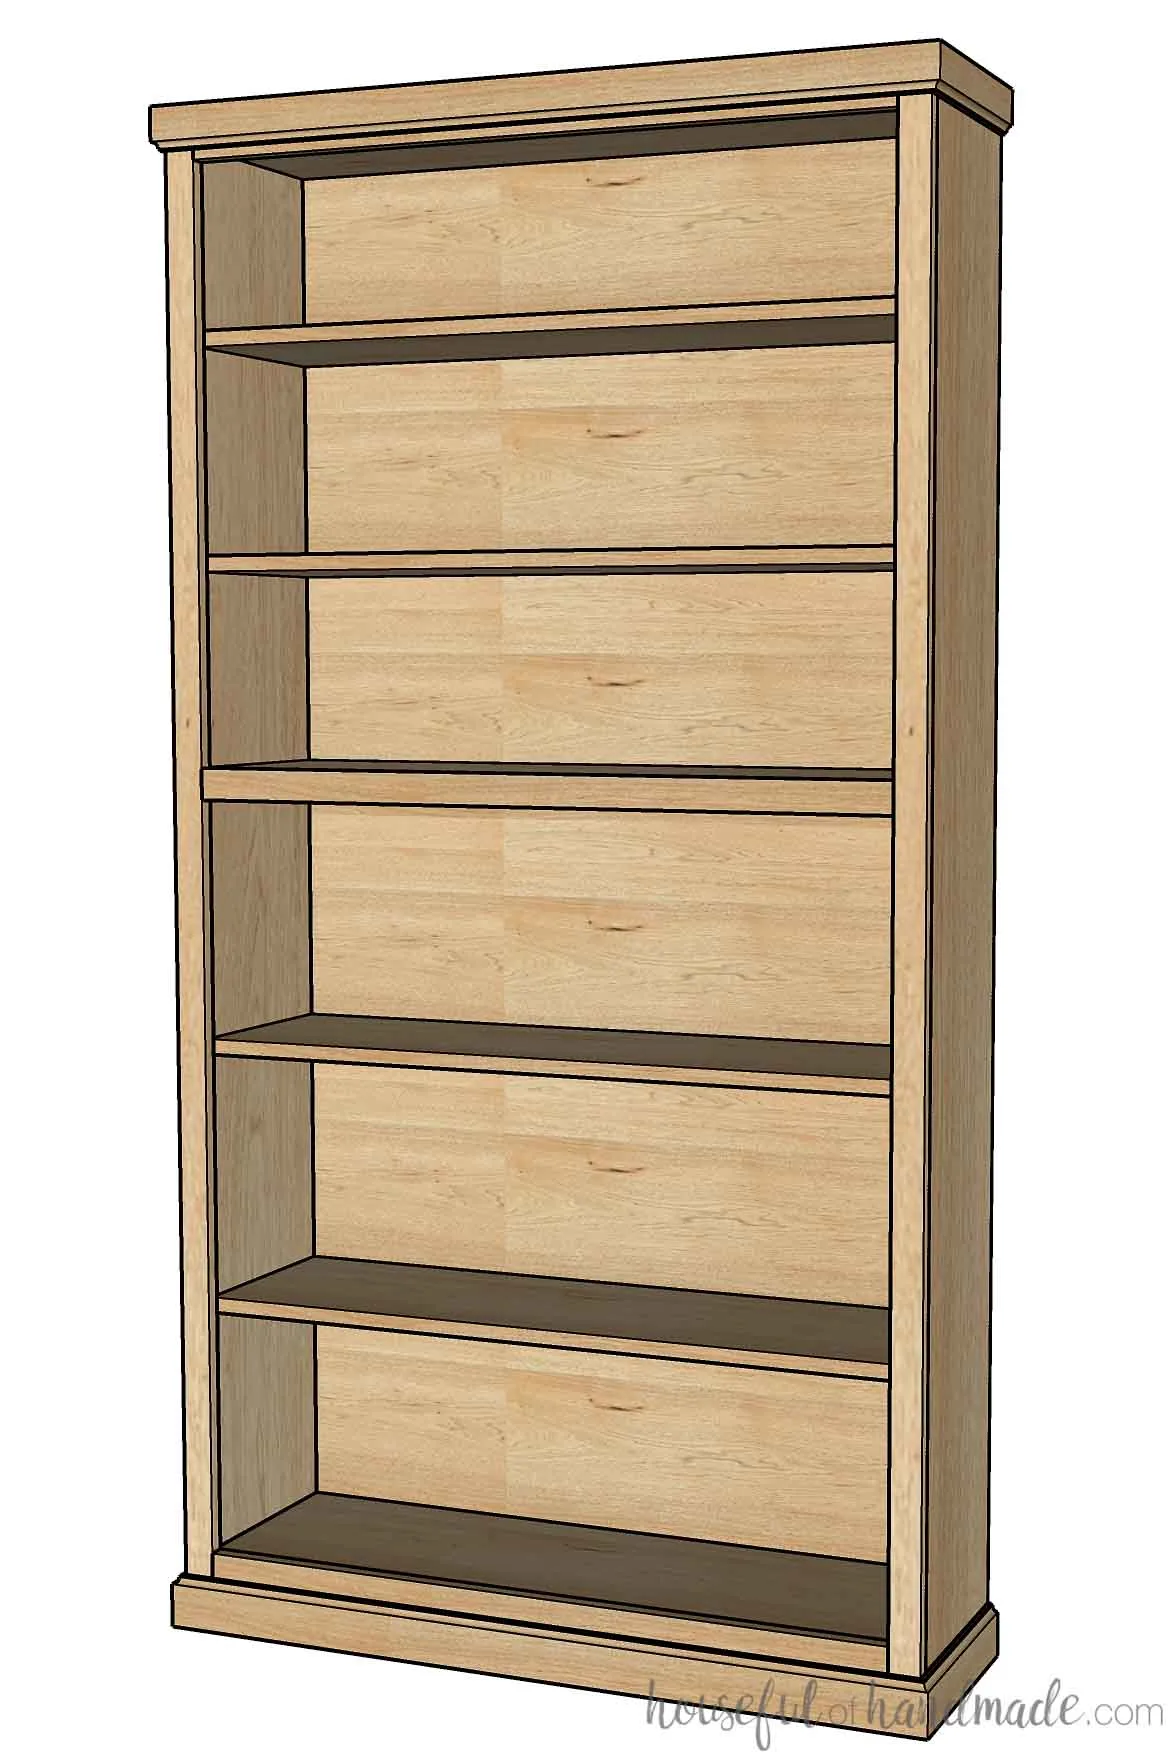
Finishing touches.

Once you’ve finished building your bookshelf, it’s time for the finishing touches. To make sure your project looks professional, sand the bookshelf to make sure it’s smooth and free of any splinters. Then, choose a protective finish like a varnish or lacquer to protect the wood from any potential water damage. With a few simple steps, you’ve created a beautiful bookshelf that you can be proud of!