If you’re a student who wants to get into gardening, then building a raised garden bed is a great place to start! Growing your own food can be fun, rewarding, and educational, and with five easy steps, you can have your own raised garden bed in no time. In this article, we’ll walk you through the process of building a raised garden bed, from gathering the necessary materials to the final touches. By the end, you’ll have the knowledge and confidence to start your own DIY gardening project!
Gather materials & tools

If you’re serious about getting your hands dirty and starting your own raised garden bed, you’ll need to make sure you’ve got all the materials and tools you need. These include lumber, soil, compost, and tools like a saw, drill, and measuring tape. Don’t forget to pick up some gardening gloves and a wheelbarrow to make the process easier. It’s also worth investing in a good quality soil thermometer to ensure your soil is at the right temperature for growing your garden.
I’m an 18-year-old college student and I just finished building my very own raised garden bed! It was surprisingly easy, and I’m so excited to start growing my own vegetables. I followed five simple steps that made it easy to construct my raised bed. In no time at all I had a beautiful raised garden bed to be proud of. It was the perfect way to make use of my small outdoor space and I’m looking forward to the delicious vegetables I’ll be harvesting soon!
Cut wood to size.
For me, cutting wood to size was one of the most satisfying parts of building my raised garden bed. I used a jig saw to make sure each board was the same length and width, and then I used a miter saw to make sure the corners were all exactly 90 degrees. It was a lot of fun, and I was really happy with the results.
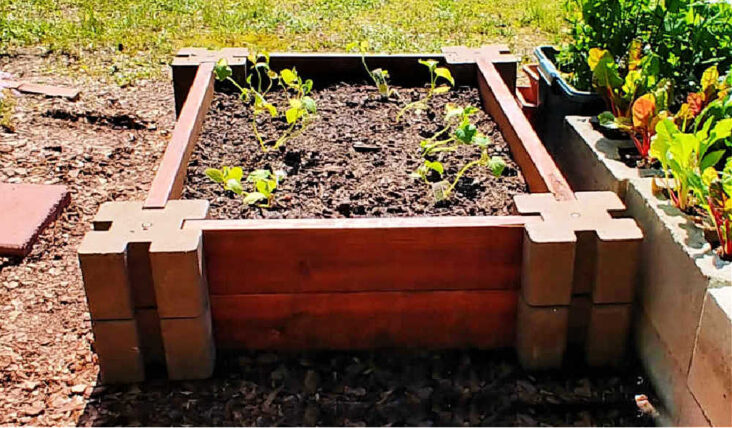
Assemble bed frame.

Assembling the bed frame is the most fun part of building your raised garden bed. It’s easy and doesn’t take too long. All you need is some wood and tools like saws, hammers, and screws. Just measure and cut the wood to the desired size, screw the pieces together, and you’re done! It’s a great way to get creative and make something beautiful for your backyard.
Insert liner & soil.

I’m super excited about building my first raised garden bed and I’m ready to get started! After I insert the liner, I’m going to fill it up with some nutrient-rich soil. I’m definitely going to add some compost to the mix, because it’ll help my plants grow healthy and strong. Plus, it’s a great way to reuse kitchen scraps, so I’m doing my part for the environment too!
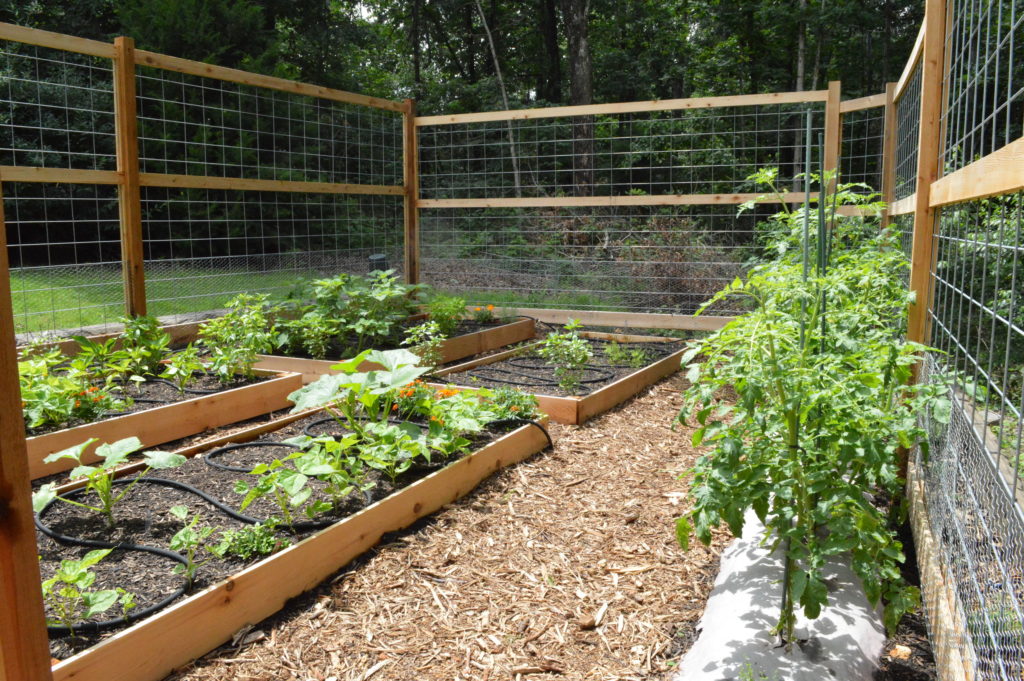
Plant your garden.

Planting your garden is the most exciting part of building a raised garden bed! I’m 18 years old and I recently built one at home. It was so easy and only took me a few steps. I filled it with soil and added my favorite plants, herbs and flowers. I can’t wait to see the beautiful blooms in the spring!
Water & tend daily.
Watering and tending to your raised garden bed is essential for a successful harvest! I water mine daily, and I like to check in on it every day to make sure it’s getting the right amount of sunlight and water. Doing this allows me to stay on top of any weeds or other issues that may arise. Plus, it’s kind of nice to have a daily activity that helps me relax and enjoy the outdoors!